
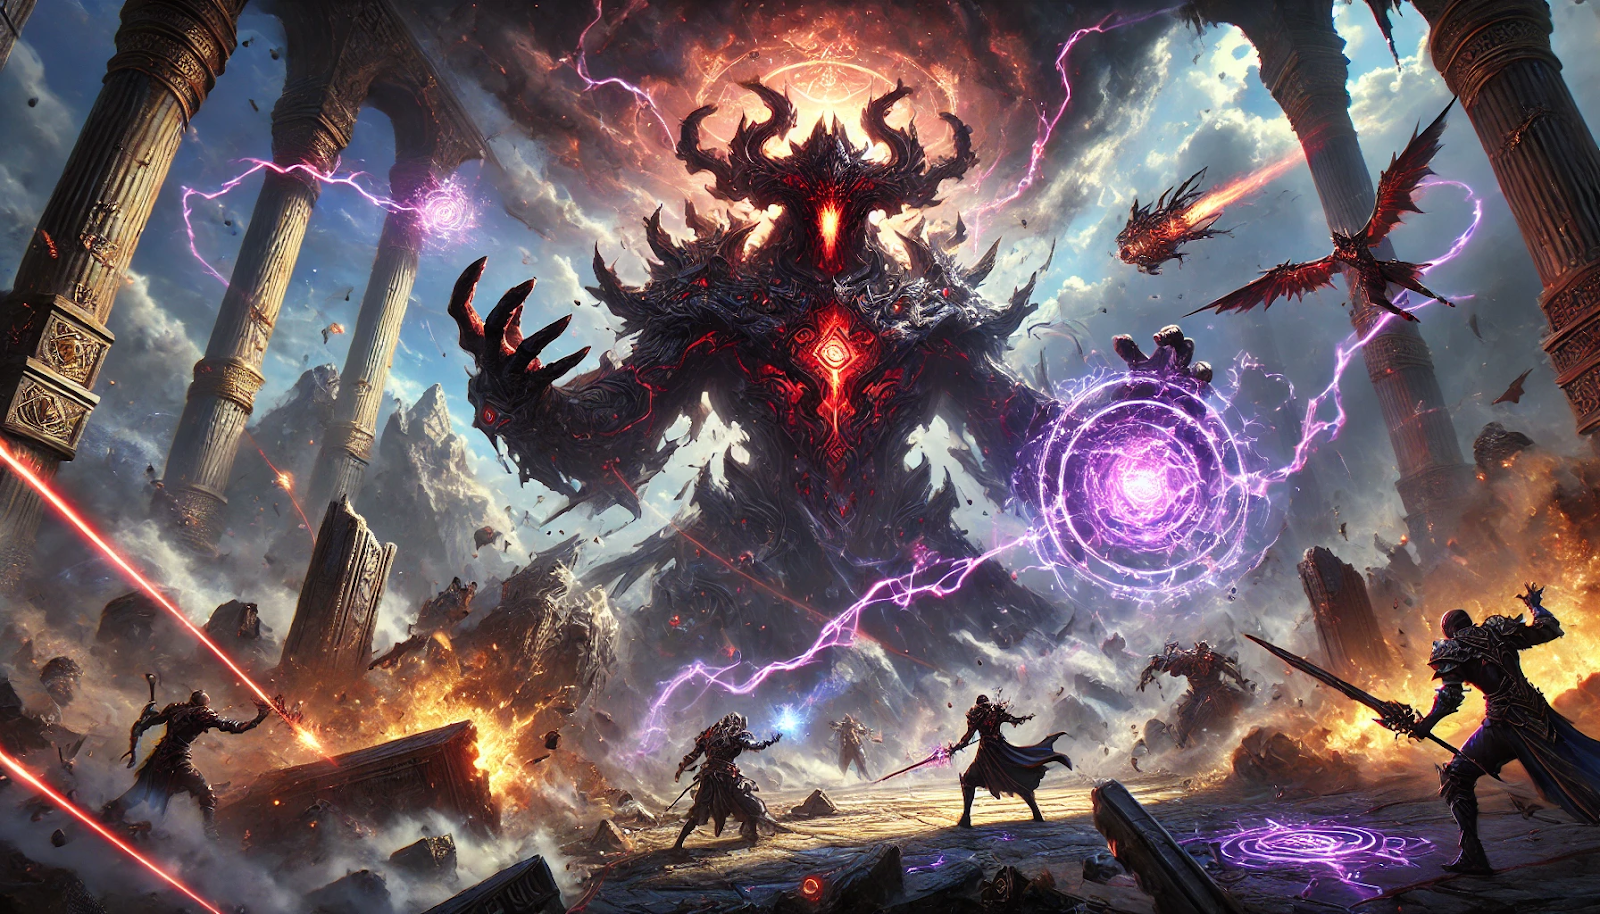
This is one of the hard raids in Final Fantasy XIV. We will break down the key mechanics of each phase, including managing the jails, bombs, and the Sizzle Spark ability. You will learn how to assign roles effectively within the team, react to different phases of the fight, and avoid deadly boss attacks. If you’re looking to enhance your experience, consider FF14 boosting services to help you prepare for these encounters. We will help you understand how to coordinate the actions of the entire group to overcome the most challenging moments and achieve victory. If you’re ready for the challenge, this guide will be your trusted companion on the path to success in Savage mode.
Early Phases: Understanding the Jails
One of the key components in Savage mode is managing the jails. In each phase, jails appear in pairs, and while their order might vary from attempt to attempt, their mechanics remain consistent. Success hinges on players understanding their assigned roles and reacting quickly. Without precise coordination, even the smallest misstep can cascade into failure, so practice and communication are critical.
There are four jails:
Red Jail: Also known as the caster jail, this one debuffs physical damage, making magic users your go-to choice for entering. Inside, the player must be freed by breaking a padlock from the outside before defeating the add that would otherwise kill them. Time is of the essence, as any delay will make the battle harder for the group. Be sure that your magic user has the necessary tools to quickly take down the add.
Purple Jail: The melee jail, where the add reduces magic damage. The player here must rely on physical damage to succeed and must be freed before a lethal 22-second timer runs out. If the team is not fast enough, the entire encounter can be jeopardized, so make sure to assign your best melee DPS here.
White Jail: Reserved for tanks, this jail functions much like the normal mode, with tanks taking on adds while dodging walls and managing damage. Tanking in this phase requires careful resource management, as healing through the incoming damage will also depend on how well they mitigate.
Green Jail: Healers enter this one, standing on a gas spout and healing through damage to prevent a raid-wide wipe. This phase puts immense pressure on the healer, as even a moment of hesitation could spell disaster for the group.
Players will be marked by a prey target and a tether during the jail phases, indicating who goes where. Coordination is key. Each jail has a specific tell before it activates, allowing players to prepare for their roles. Proper preparation ensures smoother transitions between mechanics, but miscommunication can lead to a chain of errors.
The Bombs and Tethers
As the battle begins, bombs drop on players. You can’t avoid the damage from your own bomb, but it’s crucial to steer clear of others. This demands players to be spatially aware, positioning themselves to avoid overlapping damage. With multiple mechanics happening at once, teamwork becomes essential to prevent mistakes that can cause wipes.
Players are assigned positions to move their bombs away from the group, and as the bomb explodes, it signals the start of the jail phase. Positioning must be quick and precise, as delays in bomb movement can create chaos during the jail mechanic. Consistency here sets the tone for the rest of the fight.
The players affected by the prey or tether will have to pass these mechanics to the right person before the jails activate. Timing is everything, as the handoff must happen smoothly to avoid unnecessary damage. Players not involved with the jail mechanics should focus on managing the adds that spawn. Knowing your role and sticking to it will ensure everyone stays alive through the early phases.
Managing Boss Abilities: Sizzle Spark and Sizzle Beam
Throughout the encounter, the boss will cast Sizzle Spark, a powerful raid-wide AoE that places a lightning resistance debuff on everyone. The stacking debuff adds increasing pressure on healers to keep the raid alive, demanding both skill and resource management. Group positioning becomes vital to ensure minimal disruption during these high-damage windows.
This debuff stacks, increasing the damage taken from future lightning attacks. Healers need to be on their toes, especially as Sizzle Beam targets a random player, dealing significant damage over time. Quick reactions can save lives during this phase, as the beam can quickly become overwhelming. If you’re targeted by the beam, you’ll need to move appropriately to avoid devastating the raid. Remaining calm under pressure can make the difference between survival and a raid wipe.
Handling Bombs, Jails, and Adds
As the fight progresses, bombs, jails, and adds will appear frequently. As the number of overlapping mechanics increases, players must stay vigilant and disciplined to avoid costly mistakes. Communication at this point becomes even more critical, as quick adjustments may be necessary.
Each bomb drop gives players a clue about the next set of jails. If bombs target a melee player, expect the red and purple jails (caster and melee). If a healer is targeted, the white (tank) and green (healer) jails will appear. Recognizing these patterns can give players a crucial advantage in managing upcoming mechanics.
Assign players to handle these mechanics efficiently. For instance, melee should focus on the purple jail, while casters deal with the red. Tanks and healers have their respective roles, while the rest of the group handles the adds. A well-coordinated group that knows their role will find this phase much smoother than a disorganized team.
Avoiding the Spikes
As the boss reaches 75% health, Phase 2 begins. The spikes around the room disappear, replaced by deadly Weight of the World balls that roll across the arena. Movement and awareness are critical here, as even one misstep can knock a player into an instant death. Paying close attention to the balls’ movements and planning your next position in advance is key.
These must be avoided at all costs. Meanwhile, the boss will cast Uplander Doom, forcing a tank swap to avoid stacking debuffs. Failure to execute a proper swap here can result in the tank being overwhelmed by the damage, so tanks must remain in close communication with each other.
Healers will be targeted with Flamethrower, a massive line AoE that inflicts a knockback debuff. The healer must stand at the center of the room to avoid hitting the group, and move back in once the debuff expires. A mistimed movement could send the healer flying into danger, so careful positioning is essential to keep everyone alive.
Final Phase: Intensity Increases
As the boss transitions to the final phase, the mechanics intensify. You’ll need to manage more bombs, jails, and adds, all while handling a barrage of Sizzle Sparks. By now, your team should be in rhythm, knowing their roles and positions. With the mechanics coming faster, the margin for error shrinks, so flawless execution is required.
Tanks will need to swap frequently, and healers will need to manage high incoming damage from multiple Sizzle Spark stacks. The pressure on healers increases dramatically in the final minutes of the fight, testing their cooldown management and adaptability.
The boss’s enrage timer will loom as the fight approaches the 12-minute mark. If your team is struggling to hit the DPS check, consider optimizing your tank and healer damage output to squeeze out every bit of damage possible. Every second counts at this stage, and small improvements in efficiency can be the difference between success and failure.
Boosting Services in Final Fantasy XIV: Simplify Your Adventure
- Quickly Conquer Raids: If you want to try out the Alexander raid or any other challenging content in Final Fantasy XIV but don’t feel prepared, boosting services can help you. These services allow you to skip the long hours of leveling and gearing, so you can immediately join your friends in exciting battles without unnecessary effort. You’ll quickly be able to experience intense fights and earn cool loot!
- Optimize Your Gear and Performance: Having the right gear is key to success in FF14, especially when facing powerful enemies like Alexander Prime. Boosting services can help you not only acquire strong equipment but also provide tips for optimizing your gear for maximum effectiveness. This way, you’ll be better equipped to handle intense mechanics and tough challenges in raids, making your team stronger.
- Unlock Exclusive Achievements and Titles: Final Fantasy XIV offers many achievements and unique titles that showcase your dedication and skill. With boosting services, you can unlock rare achievements and cosmetics that make your character stand out in Eorzea. If you’re aiming to get an elusive mount or a prestigious title, these services will give you the support you need to become more noticeable in the vast world of FF14.
By using boosting services, you not only make your gameplay more comfortable but also gain significant advantages in overcoming the challenges of Final Fantasy XIV, paving the way for unforgettable adventures.
Key Tips for Success
- Coordination is key: Assign roles for each jail, and stick to them. Knowing your role ahead of time prevents confusion. A well-prepared team will save time on retries and improve overall efficiency.

- Watch your positioning: Avoid overlapping AoEs, and always be aware of your surroundings, especially during bomb phases. Precise positioning ensures that the group takes minimal damage and can transition smoothly between mechanics.
- Healers must prioritize: Managing Sizzle Spark stacks and keeping the raid alive through constant pressure is vital. Healers who effectively juggle their responsibilities will see their group safely through even the toughest phases.
Conclusion
In this guide, we covered all the key aspects of the fight with the boss Alexander 12 (Savage). We learned how important it is to coordinate the team’s actions and assign roles in advance for each phase. We also looked at how to manage the jails, avoid bombs, and handle the boss’s powerful attacks, like Sizzle Spark. With patience, persistence, and good teamwork, you’ll not only survive all phases of the fight but emerge victorious in this tough challenge. Your path to triumph in Savage begins here.